WPNewsman can send emails through any third party SMTP server. In addition, you can use the SMTP settings of any email sender provider such as Amazon SES, SendGrid, Mandrill, etc. in our plugin.
This article explains you how to setup WPNewsman and Mandrill to send your email newsletters in style.
The tutorial assumes that you have already installed and activated the WPNewsman plugin on your WordPress site.
Configuration of WPNewsman with Mandrill SMTP
Step 1. Getting Mandrill API Key
The first step is to go to Mandrill web site and create an account.
The free account allows you to send 250 emails per hour and up to 12,000 emails per month. This means that while your email list is small, you can use the Mandrill SMTP server for free!
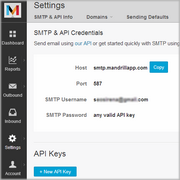
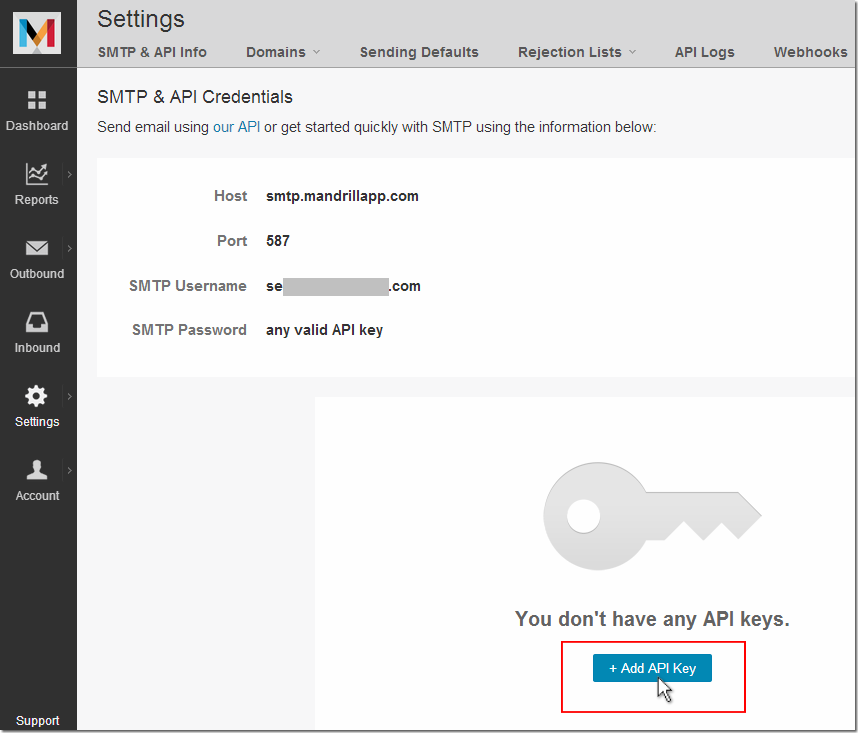
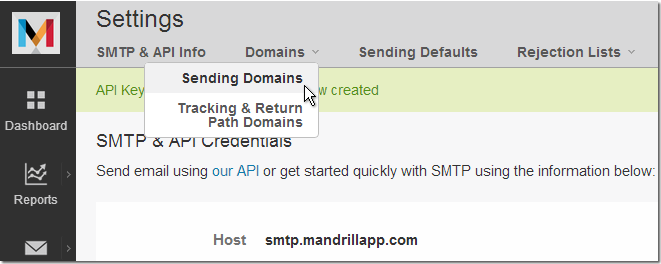
After you signup, login to your Mandrill account and go to Settings -> SMTP & API Info.
There, click on "+ Add API Key".
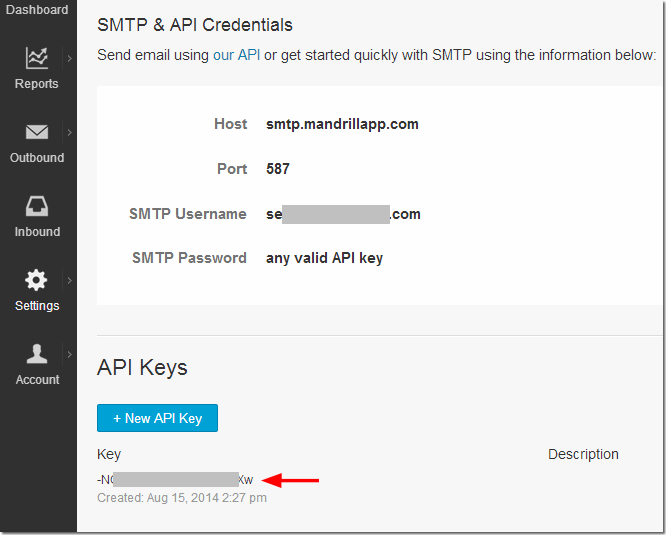
The API key will appear in the "API Keys" section.
Step 2. Using Mandrill SMTP in WPNewsman
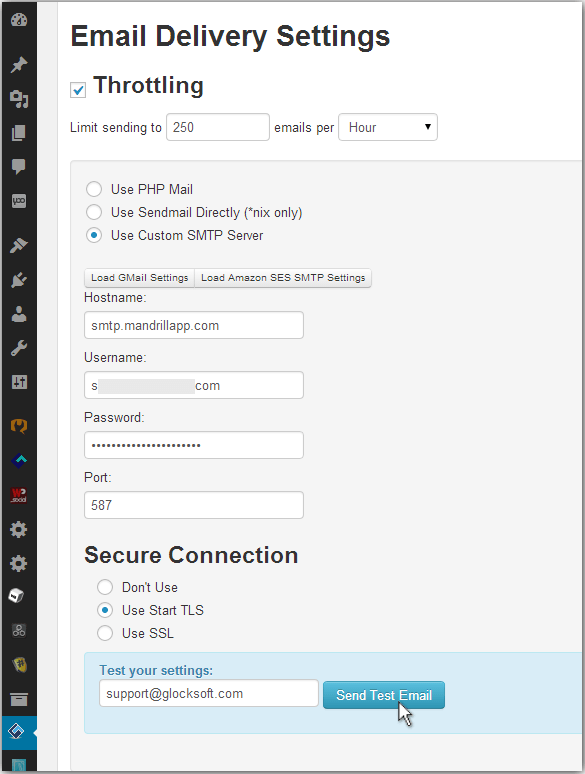
Login to your WordPress dashboard and go to WPNewsman -> Settings -> Delivery Settings.
In the Throttling section enter 250 messages per hour to comply with the free Mandrill account limits.
Check the "Use custom SMTP server" option.
Enter the SMTP details you got from Mandrill:
Hostname smtp.mandrillapp.com
Username: your SMTP username from Mandrill
Password: your generated API key
Port: 587
Secure connection: Use Start TLS
Enter an email address in the "Test your settings" field to test the SMTP settings.
If you receive a test email from WPNewsman, everything is good and you are done. If not, double check if your settings are correct.
After all settings are made, click OK.
Step 3. Configuring SPF Settings to Secure Your Domain
Though this step is optional, you can make your system more secure by applying SPF settings to the domain. Also, if the test email could not be sent, it is most likely because of the missing SPF settings. Some providers have SPF enabled and this might prevent Mandrill from sending the newsletter.
SPF is an email validation system, that prevents spammers and hackers from using your email address to send spam.
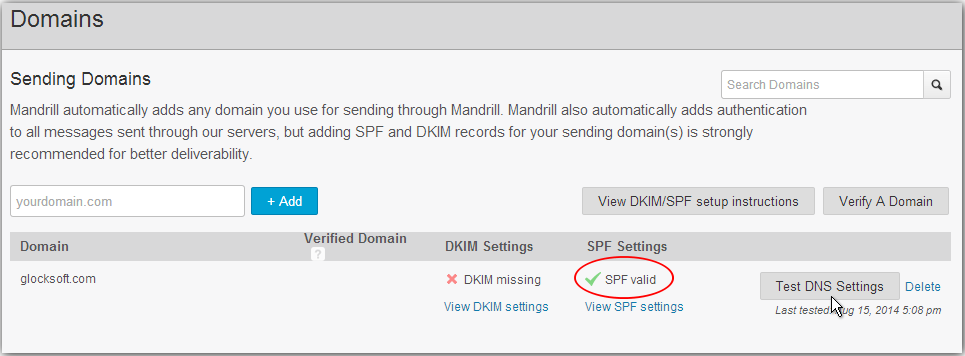
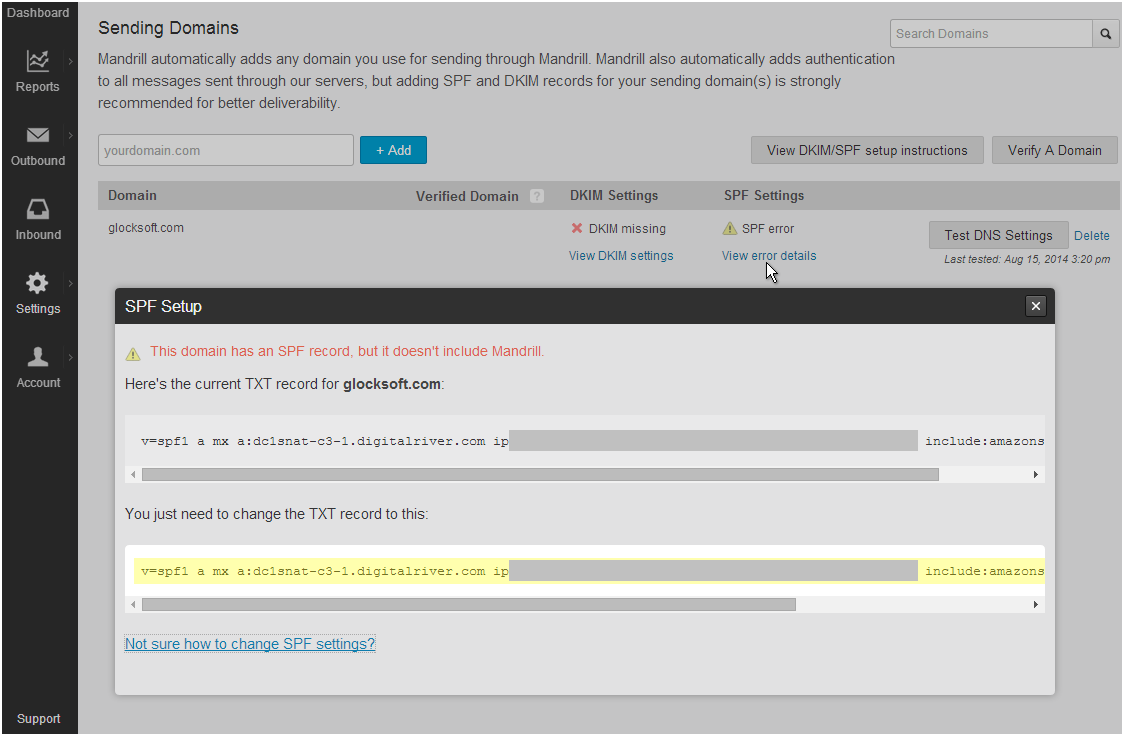
Go to Domains -> Sending Domains setting in your Mandrill account.
You will see that the page will say "SPF missing" or "SPF error" if your domain already has an SPF record, but it doesn't include Mandrill.
Click on "View SPF settings" or "View error details".
Copy the value of the TXT record for SPF.
Now login to your web host domain backend and find the DNS settings, aka the DNS Zone File.
Add the following line at the end of the file and put the value you've just copied from Mandrill between " ":
@ IN TXT "v=spf1 a mx include:spf.mandrillapp.com -all"
What does this do? This command will tell the DNS server, that it is ok to send emails in your name from Mandrill.
However, Mandrill suggests to add a slightly different command to the DNS zone file. Their command is missing the "mx" in the middle. We added "mx" to allow you to send emails not only from Mandrill, but also with your regular mail server.
After adding the command to the DNS settings, click "Save".
In about 5-30 minutes go back to your Mandrill "Sending Domains" page and click on "Test DNS settings". It should say "SPF valid".